Pumpkin Spice Scones
Bloom Savor >> Treats & Desserts>> Pumpkin Spice Scones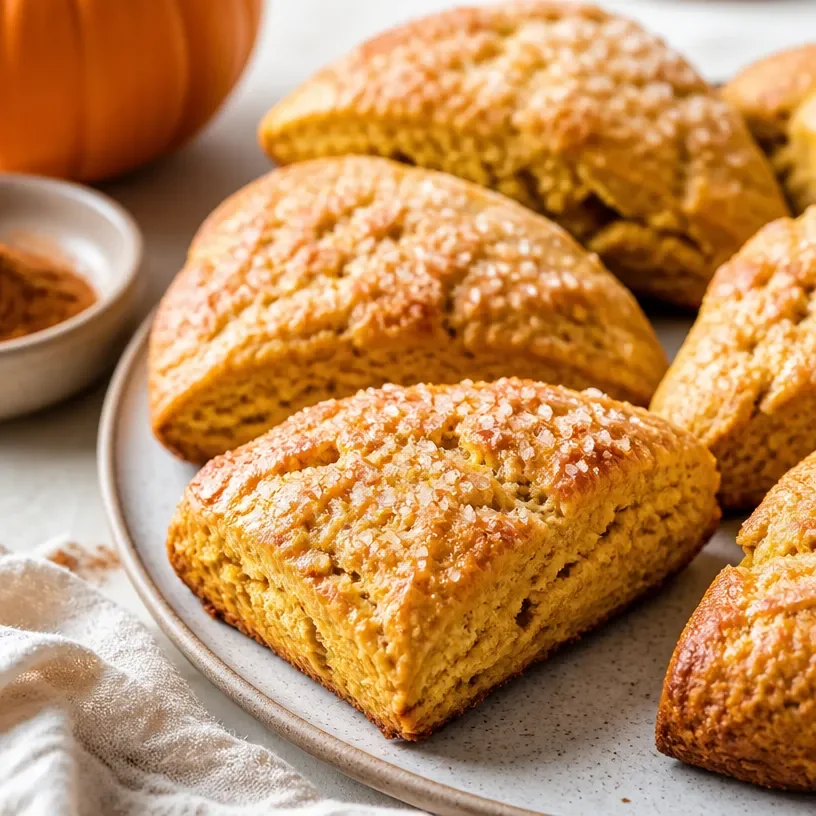
Pumpkin Spice Scones
Pumpkin Spice Scones: A Cozy Fall Treat
Ah, fall! That magical season when everything gets a little cozier, the leaves transform into brilliant hues of red and gold, and the air fills with the sweet scent of pumpkin spice. The arrival of autumn means it’s time to embrace everything soul-warming and comforting, and what better way to do that than with a batch of homemade pumpkin spice scones? Trust me, there’s nothing quite like the smell of something fresh from the oven, especially when it’s infused with those warm, aromatic spices that have become synonymous with the season.
As the days get shorter, there’s a chill in the air, and we start exchanging sundresses for cozy sweaters—this is when baking becomes a delightful ritual in my home. Baking these pumpkin spice scones not only fills the air with mouthwatering scents but also brings a touch of joy and creativity back into the kitchen. Each bite is like a hug wrapped in spice, comforting your soul while offering an irresistible crunch.
If you’ve never made scones before, don’t be intimidated! I promise this recipe is straightforward, and I’ll be right here with you every step of the way. Whether you’re a seasoned baker or just someone who loves to dabble in the kitchen, these scones are approachable, delicious, and perfect for sharing. They’re great for breakfast with a cup of coffee or as an afternoon snack while you cozy up with a good book. So, let’s roll up our sleeves and get baking!
A Fond Memory with Pumpkin Spice
I’ll never forget the first time I made pumpkin spice scones. It was a sunny October afternoon, and I invited a few friends over for a casual fall gathering. We shared laughter, warm cider, and a feast of all things pumpkin—everything from pie to bread and, of course, these delightful scones. As we mixed and mingled, I remembered my grandmother, who always filled her kitchen with scents of baked goodies. Baking was her love language, and it’s a tradition I cherish deeply.
I recall seeing those scones rise in the oven—golden brown and glistening with sugar—and the way my friends’ faces lit up the moment they tasted them. We sat around the table, scone crumbs everywhere, sharing stories and creating new memories together. It was a beautiful reminder that food isn’t just about sustenance; it’s about connection, love, and happiness. Ever since that day, these pumpkin spice scones have become a staple in my home. Perfect for gatherings, quick snacks, or just when you need a little pick-me-up, they carry with them a piece of nostalgia that I love to share with others.
Ingredients
Let’s dive into what you’ll need for these flavorful pumpkin spice scones. Here’s the full lineup:
-
2 cups all-purpose flour: This is the base of your scones. You can substitute it with whole wheat flour for a heartier version or a gluten-free blend if you need to avoid gluten.
-
1/3 cup sugar: This adds just the right amount of sweetness. Consider using brown sugar for a richer flavor or coconut sugar for a healthier alternative.
-
1 tbsp baking powder: Essential for helping the scones rise. Make sure it’s fresh for the best results. If you don’t have any, you can substitute with a mixture of baking soda and cream of tartar.
-
1/2 tsp salt: Just a pinch to balance out the sweetness. Don’t skip this; it makes a big difference!
-
2 1/2 tsp pumpkin spice: The star of the show! If you don’t have pumpkin spice, you can make your own with a blend of cinnamon, nutmeg, ginger, and allspice.
-
1/2 cup cold butter: Butter helps create that flaky texture we all love. If you’re dairy-free, coconut oil or vegan butter can work in a pinch.
-
1/2 cup pumpkin puree: Pure pumpkin gives these scones their amazing flavor and an extra moist texture. Canned pumpkin works great. Just avoid the pumpkin pie filling, as it’s sweetened and spiced.
-
1 egg: This helps bind everything together. If you’re vegan or need a substitute, 1/4 cup of unsweetened applesauce or a flax egg (1 tbsp flaxseed meal mixed with 2.5 tbsp water) works well.
-
1/4 cup buttermilk: Adds moisture and a little tang. You can use milk with a splash of vinegar or lemon juice as a quick homemade buttermilk substitute.
-
Coarse sugar: For sprinkling on top, giving those scones a delightful crunch. You can use regular granulated sugar or leave it out completely if you prefer a less sweet scone.
Step-by-Step Instructions
Now that we have our ingredients lined up, it’s time to get baking! Follow these step-by-step instructions, and I’ll share some tips along the way to ensure your scones turn out perfectly.
-
Preheat the Oven: Start by preheating your oven to 400°F (200°C). This step is crucial because a hot oven helps the scones rise nicely and develop that lovely golden brown color on the outside while remaining tender on the inside.
-
Mix Dry Ingredients: In a large mixing bowl, whisk together the flour, sugar, baking powder, salt, and pumpkin spice. This helps ensure that the leavening agent is evenly distributed throughout the flour mixture. A good whisking here prevents any lumps from forming in your scones.
-
Cut in the Butter: Next, add the cold butter (cut into small pieces) into the dry mixture. Using a pastry cutter or your fingers, work the butter into the flour until it resembles coarse crumbs. Don’t worry about being too precise; the little bits of butter will create flaky layers in your finished scones!
-
Combine Wet Ingredients: In a separate bowl, whisk together the pumpkin puree, egg, and buttermilk until smooth. This combination not only adds flavor but also moisture—so don’t forget to blend well.
-
Bring It All Together: Pour the wet ingredients into the dry mixture, and gently stir with a spatula or wooden spoon until just combined. Be careful not to overmix—the dough should be somewhat shaggy but still hold together. If it’s too dry, add a splash of buttermilk; if it’s too wet, sprinkle in a little more flour.
-
Shape the Dough: Turn the dough out onto a lightly floured surface. Gently knead the dough a couple of times to bring it together, being careful not to overwork it. Form it into a circle about 1-inch thick. If you want uniform scones, divide the circle into eight even wedges.
-
Prepare for Baking: Place the scones on a parchment-lined baking sheet, leaving some space between each one. Here’s where the fun comes in: sprinkle a little coarse sugar on top before placing them in the oven for that added crunch and a touch of beauty.
-
Bake: Pop your scones in the preheated oven and bake for 15-20 minutes or until they’re golden brown. The smell will start wafting through your kitchen—it’s heavenly! You can know they’re done when a toothpick inserted in the center comes out clean.
-
Cool and Enjoy: Let the scones cool for a few minutes on the baking sheet, then transfer them to a wire rack. They’re best served warm, but they also keep well for a few days (if they last that long!).
Serving Suggestions
When it comes to serving your pumpkin spice scones, I love to elevate the experience. Serve them warm on a lovely platter with some butter, honey, or cream cheese spread on the side for an extra indulgence. A steaming cup of chai tea or a classic latte pairs beautifully alongside these treats. You can even drizzle a little maple glaze over the top for that sweet finishing touch. These scones are best enjoyed with good company and cozy conversations!
Recipe Variations
Want to get a little adventurous, or customize these scones to your liking? Here are a few delicious twists you can try:
-
Chocolate Chip Pumpkin Spice Scones: Add 1/2 cup of semi-sweet or dark chocolate chips to the dough when mixing in the wet ingredients for a rich and indulgent treat.
-
Nutty Crunch: Fold in 1/2 cup of chopped nuts such as walnuts or pecans for some extra texture and flavor.
-
Cranberry Bliss: Toss in some dried cranberries or currants to add a tangy sweetness that cuts through the spiciness.
-
Maple Glaze: Create a quick glaze by whisking together powdered sugar and maple syrup, then drizzle over the cooled scones for a sweet finish.
-
Savory Twist: Try omitting the sugar and pumpkin spice and replacing them with cheddar cheese and herbs for a savory spin on the classic scone.
Chef’s Notes
Pumpkin spice scones have a special place in my heart, and they’ve evolved over the years to reflect my cooking journey. The beauty of scones is that they’re incredibly versatile—once you master the base recipe, the sky’s the limit with flavors! My first attempt at baking was a bit of a misadventure—I accidentally used baking soda instead of baking powder and learned the hard way that precision is key. Now, I enjoy playing around with different spices and mix-ins, creating variations every autumn. I cherish how a simple recipe can bring people together and spark joy, and I hope these scones do the same for you!
FAQs and Troubleshooting
1. My scones turned out dry. What went wrong?
Over-mixing or too much flour can cause dryness. Be gentle when bringing your dough together, and make sure to measure your flour accurately. A light hand is essential for fluffy scones!
2. Can I make these scones ahead of time?
Absolutely! You can prepare the dough and shape the scones, then freeze them on a baking sheet. Once they’re firm, transfer them to a zip-top bag. When you’re ready to bake, you can cook them straight from the freezer—just add a few extra minutes to the baking time!
3. Can I substitute fresh pumpkin for canned?
Yes! You can use fresh pumpkin—just make sure it’s properly cooked and pureed to achieve the same consistency. Roasting the pumpkin can enhance its flavor beautifully!
4. Why did my scones spread too much during baking?
This often happens if the dough is too wet or if the butter wasn’t cold enough. Be sure to use cold butter and check the consistency of your dough; it should be thick enough to hold its shape while baking.
In closing, I hope you embrace the cozy vibes of fall with these delightful pumpkin spice scones. Whether they become a regular in your kitchen or a special treat for gatherings, they encapsulate the warmth, joy, and togetherness that come with this beautiful season. Happy baking, and enjoy every delicious bite!
Related Post
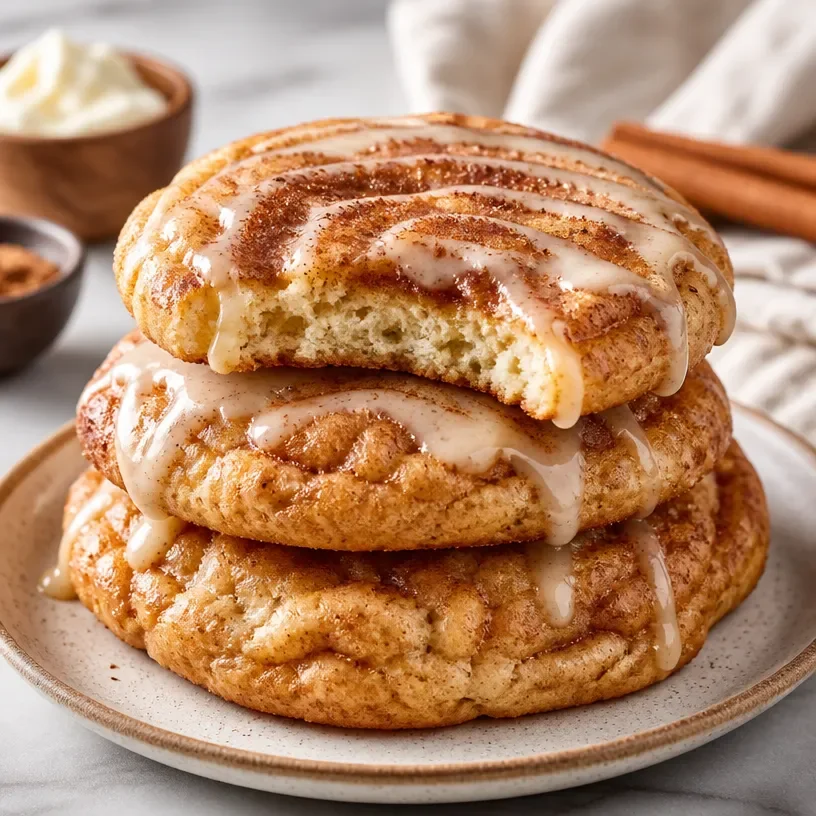
High-Protein Cinnamon Fry Bread Cookies (Crumbl-Style)
The Amazing Protein Crumbl Cinnamon Fry Bread Cookie Hey there, fellow food lovers! I’m so…