Min Protein Rocky Road Ninja Creami Ice Cream Recipe
Bloom Savor >> Treats & Desserts>> Min Protein Rocky Road Ninja Creami Ice Cream Recipe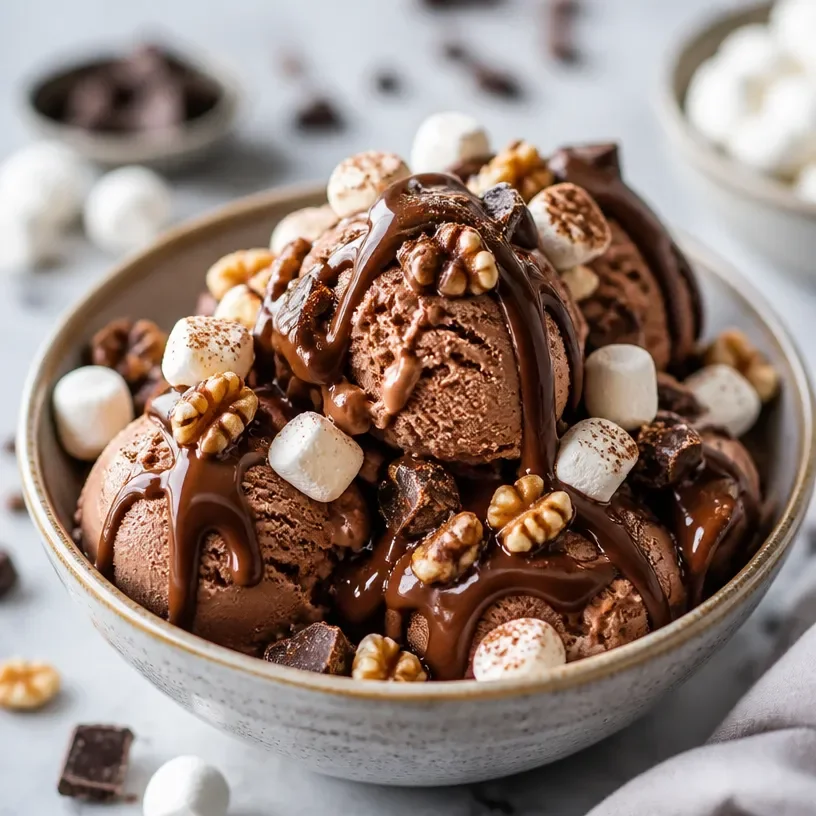
Min Protein Rocky Road Ninja Creami Ice Cream Recipe
Protein Rocky Road Ninja Creami: A Delightful Twist on a Classic Treat
Hey there, fellow foodies! Welcome to BloomSavor, where we’re all about making delightful dishes that don’t just satisfy our appetites but also spark joy in our hearts. Today, I’m beyond excited to share a recipe that’s like a mini adventure in every scoop—Protein Rocky Road Ninja Creami! If you’ve ever lived for that perfect blend of chocolate, marshmallows, nuts, and creamy goodness, you’re going to love this healthy twist on a classic dessert. And the best part? It’s packed with protein, making it a fabulous post-workout treat or a sweet indulgence that you can feel good about. So, let’s dive into this fun and nutritious ride!
Personal Story
Let me take you back to my childhood for a moment. I remember those hot summer days when my siblings and I would race to the local ice cream truck, with coins clutched tightly in our hands. The highlight of that moment? A bar of Rocky Road ice cream with its irresistible combination of chocolate swirls, gooey marshmallows, and crunchy nuts. I can still hear the jingling of the ice cream truck’s song echoing down the street and the laughter that followed as we plopped down in the grass and dove into our frozen treasures.
Fast forward to my adult years, where nutrition became a greater focus for me. I loved the nostalgic memory of Rocky Road but wanted a healthier version that could fuel my body without sacrificing flavor or fun. Enter the Ninja Creami! This clever gadget quickly became my best friend, letting me whip up delightful, creamy treats in a heartbeat. Combining my love for Rocky Road with protein-packed ingredients sparked the creation of this recipe. Now, every scoop brings back those joyful childhood memories while keeping my adult body happy and healthy.
Ingredients
Here’s what you’ll need to whip up your own Protein Rocky Road Ninja Creami:
-
Fairlife Milk or Milk of Choice
Use this as your base. Fairlife milk is ultra-filtered, which means it’s higher in protein and lower in sugar. You can swap it for almond milk, oat milk, or even coconut milk for a richer flavor. -
Greek Yogurt or Cottage Cheese
This will add creaminess and protein to your dessert. Greek yogurt gives a tangy flavor, while cottage cheese provides a more subtly sweet taste. If lactose-free options are desired, use lactose-free varieties or opt for coconut yogurt. -
Protein Powder
A vital ingredient for that extra protein punch! Choose your favorite flavor—chocolate works wonderfully here. For a vegan option, ensure you’re using a plant-based protein powder. -
Flavor-Specific Ingredients
This can include cocoa powder, vanilla extract, or even some peanut butter for that extra richness. Get creative! For the nostalgic rocky road flavor, ensure you have a chocolate base. -
Natural Sweetener
Honey, maple syrup, or stevia can serve as your sweetening agent. Taste testers—adjust according to your preference; remember that the chocolate flavor will add sweetness too!
Your masterpiece’s richness and flavor profile depend on ingredient quality here, so look for vibrant, fresh versions of these.
Step-by-Step Instructions
Now, let’s get down to the nitty-gritty of making your own Protein Rocky Road Ninja Creami!
-
Base Blend
In your blender, combine 1 cup of Fairlife milk (or your milk of choice) and 1 cup of Greek yogurt or cottage cheese. Don’t forget to toss in your flavor-specific ingredients, like 1 tablespoon of cocoa powder, and any sweetener you fancy! Blend on high until it’s completely smooth and creamy. Chef’s Tip: For extra richness, let your dairy ingredients sit at room temperature for about 10 minutes before blending—this makes them creamier! -
Add the Protein
Toss 1 scoop of your protein powder into the mix and blend again. Aim for a consistency thicker than a regular smoothie but not too chunky. You want that perfect creamy texture. Little Hack: If you find your mixture too thick, drop in a splash more milk to thin it out. -
Nuts and Marshmallows
Now, here comes the fun part! Fold in ½ cup of mini marshmallows and ½ cup of chopped nuts (like almonds or walnuts) into the blended base. This will give you that classic Rocky Road surprise. Pro Tip: I love to toast my nuts lightly in a dry skillet for added depth and flavor! -
Freeze
Pour your mixture into the Ninja Creami container and freeze it for at least 4-5 hours, or until fully set. Remember, this part is key—the texture here is what gives you that delightful creaminess later! -
Creamify
Once frozen, take your container out and run it through your Ninja Creami according to the manufacturer’s instructions. The magic happens here as all those components blend together into a dreamy, scooping treat. -
Serve and Enjoy
Scoop your creation into bowls or cones, and think about sprinkling a few extra marshmallows or nuts on top for garnish. Trust me, you’ll want to go back for seconds!
Serving Suggestions
For a delightful serving experience, consider using colorful bowls that showcase the beautiful chocolatey hue of your Protein Rocky Road Ninja Creami. Add a fun spoon or a cone option for that classic ice-cream truck feel! Top with garnishes such as fresh berries or a drizzle of chocolate syrup, and voilà—your dessert is ready to steal the spotlight!
Recipe Variations
The beauty of this recipe is how versatile it is! Here are a few creative twists to get your culinary wheels turning:
-
Nut-Free Version: Skip the nuts altogether or replace them with seeds like pumpkin or sunflower for a similar crunch without allergens.
-
Vegan Rocky Road: Substitute dairy products with plant-based versions (like almond yogurt) and use a vegan protein powder for a completely plant-based dessert.
-
Different Flavors: Change the base flavor by mixing in vanilla protein powder and paddle in crushed Oreos or cookies for a Cookies and Cream Rocky Road!
-
Swirls and Drizzles: Consider adding a swirl of peanut butter or almond butter into the creamy mix. The nutty addition is divine!
-
Mint Chocolate: For a fresh twist, get adventurous and toss in some peppermint extract along with your cocoa powder.
Chef’s Notes
Isn’t it funny how our favorite foods evolve over time? I remember a time when I thought desserts had to be purely indulgent, void of any health aspect. But now, with the Ninja Creami and a little creativity, I can make desserts that marry flavor and nutrition seamlessly! Each time I share this recipe at gatherings, I’m met with surprised faces as people realize they’re devouring not just ice cream, but a nutrient-dense treat! I love to let people guess the secret ingredients, and every guess always somehow brings giggles and joy to my kitchen.
FAQs and Troubleshooting
1. Why is my Ninja Creami not blending well?
Sometimes, if the mixture is too thick, it won’t blend properly. If this happens, add a splash more milk and blend again until it reaches a smoother consistency!
2. Can I skip the protein powder?
Absolutely! Feel free to omit it, but remember that the protein powder gives a unique mouthfeel and boost—consider substituting it with extra yogurt for protein if you do.
3. How long can I store this?
You can store the completed mixture in the freezer for up to a week. However, it’s best to consume it fresh to enjoy the perfect creamy texture!
4. Can I use whole ingredients instead of a blend?
Yes! You can also opt for whole-season ingredients like chocolate chunks or whole marshmallows instead of mini ones for varied texture.
Nutritional Info
(Feel free to adjust the nutritional information based on your specific brands and ingredients.)
- Calories: Approximately 250 per serving
- Protein: 20–30g (depending on protein powder)
- Carbohydrates: 30g
- Fat: 8g
Eating healthy doesn’t mean sacrificing the foods we love. Embrace the flavors of your childhood while nourishing your body with our Protein Rocky Road Ninja Creami! Now, go on, whip up a batch, share it with friends, or indulge solo—either way, savor every delightful bite. Happy cooking!
Related Post
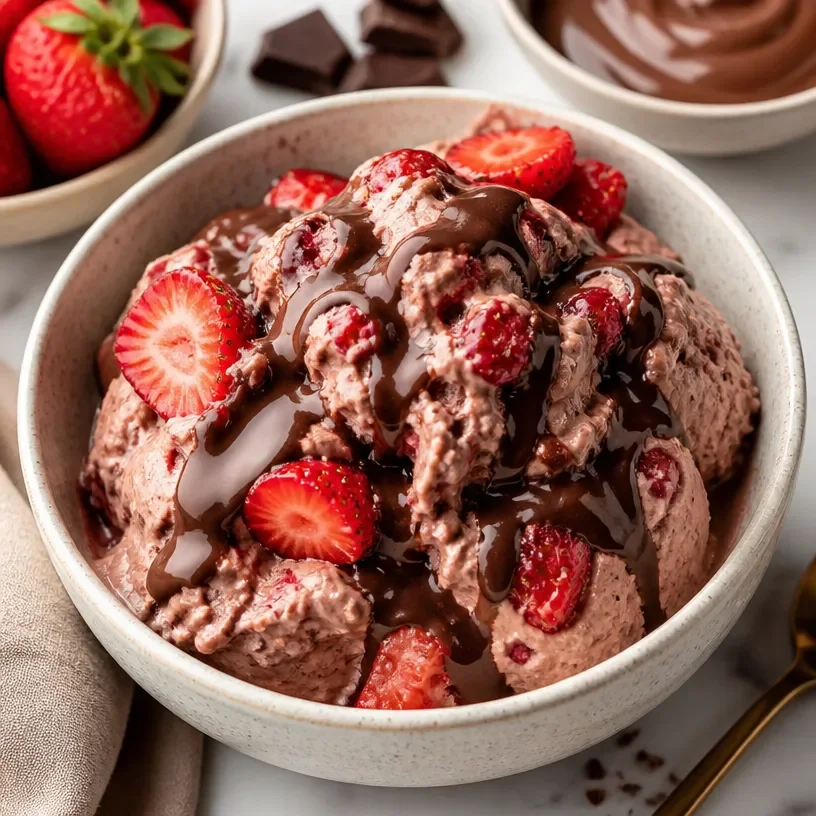
Protein Chocolate Covered Strawberry Ninja Creami
Welcome to BloomSavor: Dive into a Delightful Treat!Hello, lovely food enthusiasts! Today, I’m super excited…