Autumn Pear-Almond Tart with Frangipane (Make-Ahead)
Bloom Savor >> Treats & Desserts>> Autumn Pear-Almond Tart with Frangipane (Make-Ahead)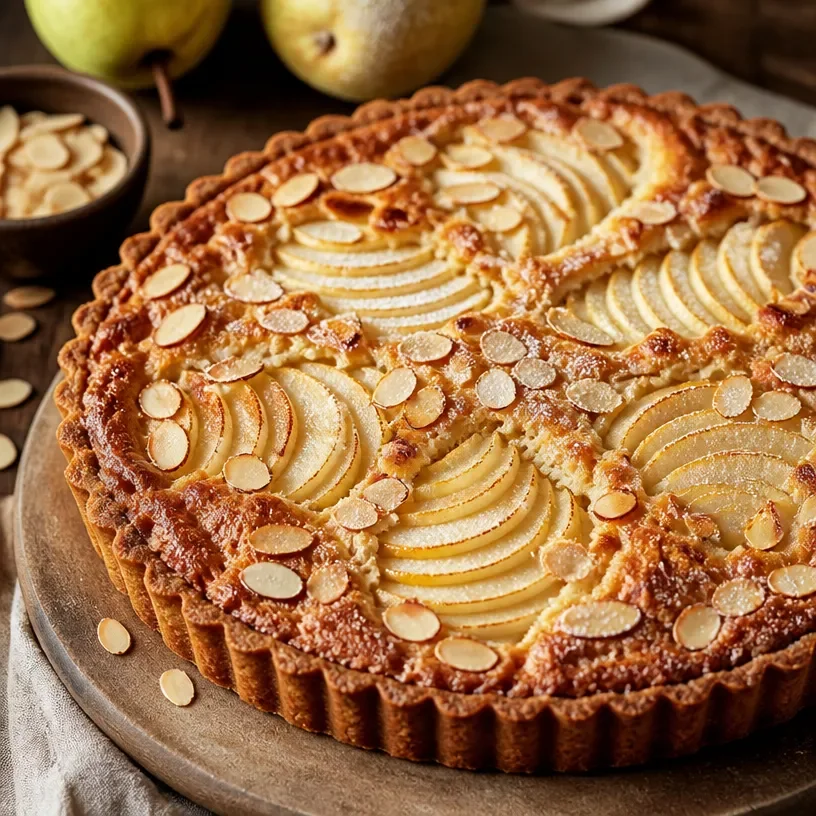
Autumn Pear-Almond Tart with Frangipane (Make-Ahead)
The Joy of Baking: Pear Almond Tart at BloomSavor
Welcome, fellow food lovers! Today, we’re diving into the delightful world of baking with a recipe that sings with the flavors of the season—Pear Almond Tart. Imagine a crisp pastry cradle filled with ripe, juicy pears, enveloped in a smooth almond cream, and topped off with a sprinkle of cinnamon and nutmeg. This isn’t just any dessert; it’s a slice of nostalgia, a warm hug on a plate, and an easy way to impress your loved ones around the table.
You know, there’s something magical about tarts—how they can turn simple ingredients like flour, sugar, and fresh fruits into something truly spectacular. It’s a dish that feels both indulgent and approachable, perfectly fitting for a cozy evening at home or a special gathering with friends. Here at BloomSavor, I believe baking should evoke joyful memories—not a sense of dread! So grab your apron, put on your favorite tunes, and let’s create a Pear Almond Tart that’s both delicious and pretty enough to share with your friends (if you can bear to part with it, that is!).
A Slice of My Childhood
Let me take you back to my grandmother’s kitchen—a place that could only be described as a sanctuary of warmth and comfort. Each autumn, as the leaves began their vibrant transformation, she would call us over to her house with the promise of homemade tarts. I can still picture the way the light poured through her little window, illuminating flour dust dancing in the air.
One of her most cherished recipes was a pear tart; I distinctly remember her lovingly peeling those fragrant pears, her hands moving gracefully as she told us stories about her own childhood. We’d help, of course, with the so-called “hard work”—mostly shoveling flour into bowls and sneaking bites of buttery dough. As she baked, the sweet, nutty aroma filled the house, enveloping us like a cozy blanket. It was more than just cooking; it was about creating memories, sharing stories, and filling hearts—and it’s that spirit I hope to carry forward with today’s Pear Almond Tart recipe.
Ingredients
Let’s gather the stars of our culinary show! Here’s what you’ll need for this delightful tart:
-
Flour: All-purpose flour works best for the tart crust. If you want to make it gluten-free, opt for a 1:1 gluten-free flour blend.
-
Sugar: Granulated sugar sweetens the crust beautifully. You can swap half for brown sugar for a hint of molasses flavor in the crust.
-
Butter: Unsalted butter is the key to achieving a tender tart crust. For a dairy-free alternative, coconut oil or a vegan butter will work well.
-
Eggs: Large eggs help bind the tart together and add richness. If you’re avoiding eggs, a flaxseed egg or chia egg (1 tablespoon ground flax or chia mixed with 2.5 tablespoons water per egg) can be a good substitute.
-
Baking Powder: This helps give our tart a light texture. If you’re out, you can combine baking soda and cream of tartar (1/4 teaspoon baking soda + 1 teaspoon cream of tartar).
-
Vanilla Extract: A splash of vanilla extract enhances the flavors in both the crust and the almond filling. If you’re in a pinch, almond extract can provide a lovely twist.
-
Fall Spices: A mix of cinnamon and nutmeg adds that cozy, autumnal flavor. Pumpkin spice mix can be a fun alternative if you have it on hand.
-
Pears: Ripe, luscious pears are the star of the show. Choose your favorite variety—Bartlett, Bosc, or Anjou work wonderfully. If pears are out of season, you can substitute with apples for a delicious twist.
Step-by-Step Instructions
Now, let’s jump into the fun part—building and baking our Pear Almond Tart! Here’s how to do it, step by step:
-
Preheat the oven: Begin by preheating your oven to 350°F (175°C). Trust me, this makes a difference! A preheated oven ensures your tart bakes evenly and rises to perfection.
-
Make the tart crust: In a mixing bowl, combine 1 ½ cups of all-purpose flour, ½ cup of granulated sugar, and ½ teaspoon of baking powder. Give it a good stir to mix everything nicely. Now, slice 1 stick (½ cup) of unsalted butter into small cubes and toss it into the dry mixture.
Chef’s Tip: Use cold butter for flakier crust! You can also use a pastry cutter or even your fingertips to work the butter into the dry ingredients until it resembles coarse crumbs.
-
Add the eggs and vanilla: In a small bowl, whisk 1 large egg along with 1 teaspoon of vanilla extract. Pour this into the flour and butter mixture. Gently mix until everything comes together to form a dough. If the dough feels too dry, a splash of cold water can help.
Note: Letting the dough chill in the fridge for about 30 minutes can help improve its texture, making it easier to roll out.
-
Roll out the crust: On a floured surface, roll out your dough into a circle about ¼ inch thick. Carefully transfer the rolled dough into a tart pan, pressing it into the edges and trimming any excess.
-
Prepare the almond filling: In a mixing bowl, whisk together ½ cup of softened butter, ¾ cup of sugar, and 2 large eggs until fluffy. Mix in 1 cup of almond flour and a teaspoon of vanilla extract, plus ½ teaspoon of cinnamon and a pinch of nutmeg.
Chef Hack: If you want to bump up the flavor, you can add a tablespoon of finely chopped almonds or a few drops of almond extract for a richer taste.
-
Fill the crust: Pour the almond filling into the prepared tart crust, spreading it evenly. Now for the fun part—slice 2 to 3 ripe pears thinly and arrange them beautifully on top of the filling, fanning them out as you go.
Presentation Tip: Try to overlap the pears slightly for that wow factor!
-
Bake your tart: Pop the tart in the preheated oven and bake for about 45-50 minutes or until the top is golden brown and set. The aroma in your kitchen right now is going to be seriously tempting!
Important: Keep an eye on it; if the edges start to brown too quickly, you can cover them with foil.
-
Cool and serve: Once baked, let the tart cool for at least 15 minutes before serving. This allows the filling to set! Slice into wedges and serve by itself or with a scoop of ice cream or whipped cream for that extra lusciousness.
Serving Suggestions
Let’s talk presentation! To serve your Pear Almond Tart, simply slice it into wedges and place them on elegant dessert plates. A dusting of powdered sugar on top adds a beautiful finish and a touch of sweetness. For a fun twist, drizzle some caramel sauce or a balsamic reduction around the plate. A scoop of vanilla ice cream on the side really adds that decadent touch—pairing the warm tart with the cold cream is pure bliss!
Recipe Variations
Feeling adventurous? Here are a few delightful variations to try for a unique twist on your Pear Almond Tart:
-
Berry Bliss: Substitute some of the pears with fresh berries like raspberries or blueberries for a tart and vibrant flavor contrast.
-
Nutty Chocolate: Add ½ cup of chocolate chips to the almond filling for a decadent chocolate-pear combination.
-
Herbal Infusion: Incorporate fresh herbs like thyme or rosemary finely chopped into the filling for an unexpected, aromatic note.
-
Citrus Zest: Add a teaspoon of lemon or orange zest to the almond filling for a fresh burst of citrus that complements the pears beautifully.
-
Whole Wheat: For a heartier crust, replace half the all-purpose flour with whole wheat flour! It adds a lovely nutty flavor.
Chef’s Notes
This Pear Almond Tart is special to me; not only does it bring back memories of loved ones but it’s also a recipe that has evolved through the years. I started making this with my grandmother, and it has since turned into my own little tradition—inviting friends over for tart-making weekends.
Every time I bake this tart, I think about how simple ingredients can come together to create harmony and joy. Plus, I can’t resist the kitchen experiments that pop into my head! Sometimes I ask friends for their favorite flavors or what they have on hand, and I just go with the flow—making it a true celebration of creativity.
FAQs and Troubleshooting
-
Why did my tart crust shrink?
- This can happen if the dough wasn’t chilled properly before baking or was overworked. Make sure to chill it for at least 30 minutes before rolling!
-
My pears are too firm. What can I do?
- If your pears aren’t as ripe, simply peel, slice, and gently pre-cook them in a bit of butter and sugar until they soften before placing them on the tart. They’ll become beautifully tender during baking!
-
How do I know when my tart is done?
- Look for a golden-brown color on the top, and gently shake the pan; if the filling jiggles slightly in the center, it’s perfect!
-
Can I freeze this tart?
- Absolutely! This tart freezes well. Just wrap it tightly in plastic wrap and aluminum foil. Thaw in the fridge overnight when you’re ready for a slice of heaven!
Nutritional Info (optional)
While I like to focus on enjoyment rather than strict nutritional guidelines, knowing what you’re eating can be helpful. A slice of Pear Almond Tart contains approximately 300 calories, with a good mix of carbs and fats, thanks to its almond filling and buttery crust. Enjoy it as a delightful treat or dessert!
I hope you enjoy creating this Pear Almond Tart as much as I enjoyed sharing it! Remember, it’s not just about the end result; the joy is in the journey of cooking. Let your kitchen be a place of warmth, laughter, and delicious experimentation, and always find joy in sharing your creations with others. Happy baking!
Related Post
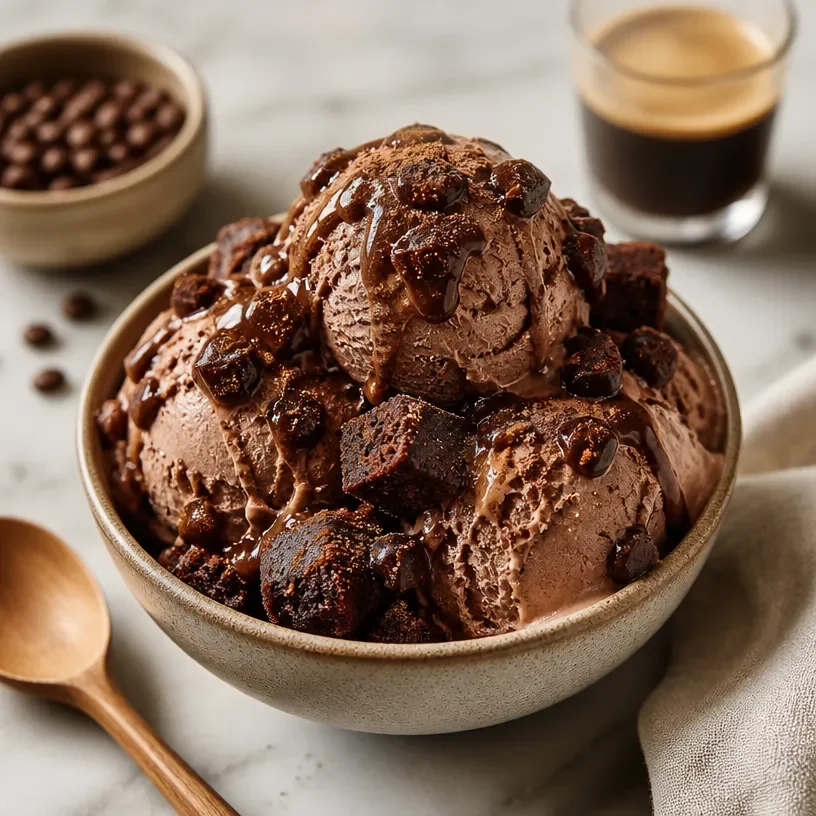
Protein Espresso Brownie Ninja Creami: 15-Min Snack
Protein Espresso Brownie Ninja Creami: A Blissful Blend of Flavor and NutritionHey, fellow foodies! Today,…