Min High-Protein Apple Pie Ninja Creami Dessert
Bloom Savor >> Treats & Desserts>> Min High-Protein Apple Pie Ninja Creami Dessert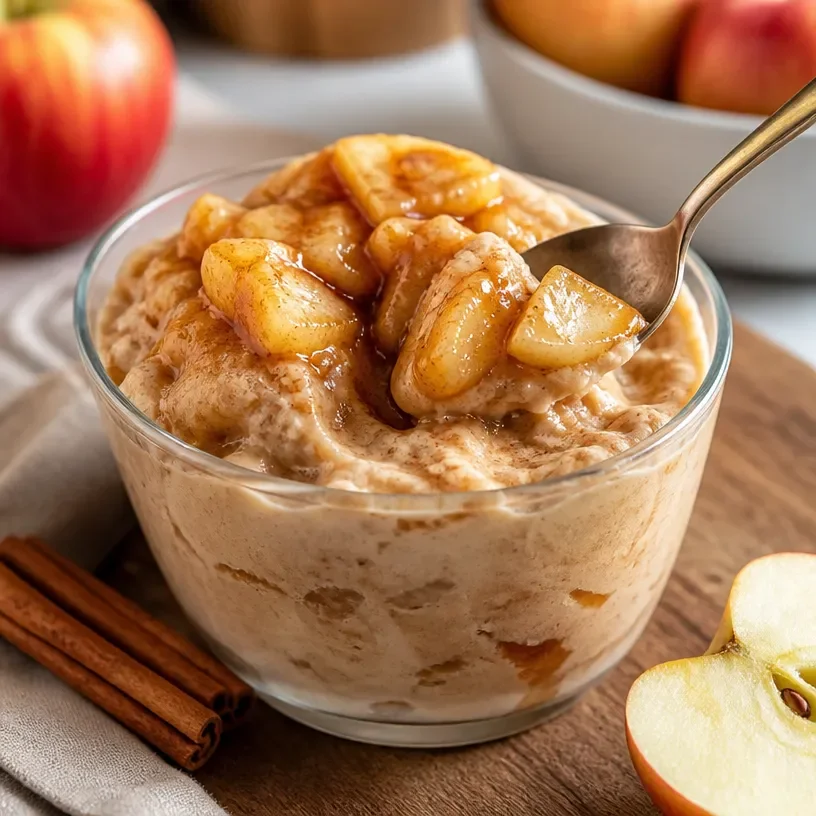
Min High-Protein Apple Pie Ninja Creami Dessert
Protein Apple Pie Ninja Creami: Your New Favorite Dessert
Introduction
Welcome to BloomSavor, food lovers! Today, I’m thrilled to share a dessert that will tantalize your taste buds and satisfy your sweet tooth without the guilt—Protein Apple Pie Ninja Creami! That’s right; we’re bringing together the comforting flavors of an apple pie with a nutritious twist.
Picture this: It’s a crisp fall evening, and the aroma of apples and cinnamon fills your kitchen. While most people are pulling an old-fashioned pie out of the oven, you’re whisking up a delicious, creamy treat that’s not only delightful but also packed with protein. It’s like having your cake and eating it too, but let’s make that a bowl of creamy goodness! Whether you’re a fitness enthusiast or just someone who loves a sweet treat, this dessert is for you.
At BloomSavor, we believe that food should be fun and approachable, so I’m excited to guide you step-by-step through making this delightful Ninja Creami treat. We’ll blend wholesome ingredients and sprinkle in some fun kitchen stories to make your cooking experience even more enjoyable. Are you ready to embark on this apple-infused journey? Let’s dive in!
Personal Story
Growing up, I had the ultimate sweet tooth. My favorite memory was visiting my grandma’s house every fall. Her apple pie was legendary! It consisted of juicy, caramelized apples wrapped in a golden crust, and I can still hear her laughing as she rolled the dough, sprinkling flour all over her apron. After feasting on her magnificent pie, we’d sit around the table—stories, laughter, and just pure joy filling the air.
That love for apple pie has stuck with me. But as I began my culinary journey and embraced a healthier lifestyle, I wanted to recreate that nostalgia in a way that kept the flavors but lightened up on the sugar and calories. Thus, the Protein Apple Pie Ninja Creami was born! It’s a playful homage to my grandma’s delicious creation but tailored for the modern-day foodie looking to enjoy sweets without the traditional guilt.
Ingredients
Here’s what you’ll need to whip up this delightful creation. Each ingredient plays a crucial role and has its own story, so let’s dig in!
-
Fairlife Milk or Milk of Choice:
- A lifesaver in this recipe, Fairlife milk is lactose-free and packed with protein! Any milk you have on hand will do, but if you prefer dairy-free, almond or oat milk can give it a lovely flavor.
-
Greek Yogurt or Cottage Cheese:
- These ingredients lend creaminess and protein to our dish. They provide a satisfying texture, and Greek yogurt offers a tangy accent while cottage cheese adds a bit more substance. Choose whichever you prefer (or have!), but make sure to blend them well so there are no lumps.
-
Protein Powder:
- This is the star of our dessert! Vanilla or apple pie-flavored protein powder can enhance the taste exquisitely. If you’re allergic to whey, you can substitute plant-based protein powder, but check the flavor profile to match it with your ingredients.
-
Flavor-Specific Ingredients:
- Think cinnamon, nutmeg, and vanilla extract to evoke those cozy autumn vibes! You can switch it up by adding a dash of cardamom or ginger for an extra kick.
-
Natural Sweetener:
- Here’s where you can customize! Honey, maple syrup, or a stevia blend are all great choices. Just remember, the level of sweetness varies among different sweeteners, so adjust to match your taste.
Step-by-Step Instructions
Now that we have our ingredients ready, let’s get cooking! Follow these steps to create your scrumptious Protein Apple Pie Ninja Creami.
-
Gather the ingredients: Ensure everything is within arm’s reach. It’s always easier when you don’t have to run around the kitchen looking for that pesky can of cinnamon!
-
Prepare the apple base:
- Peel and chop 1-2 medium-sized apples (Granny Smith or Honeycrisp work beautifully) into small chunks. Think about the size—smaller pieces will meld better into the creamy texture.
-
Cook down the apples:
- In a small pot over medium heat, add the chopped apples along with a drizzle of maple syrup and a sprinkle of cinnamon. Let it simmer for about 5-7 minutes, stirring occasionally, until the apples become soft and caramelized. This is where the magic happens!
-
Blend the base:
- In a blender or food processor, combine the cooked apples, 1 cup of Fairlife milk, 1/2 cup Greek yogurt or cottage cheese, and 1 scoop of protein powder. Blend until it’s super smooth! Don’t be afraid to taste—this is a crucial step.
-
Add flavor boosters:
- Depending on your prefered flavor profile, toss in a bit of vanilla extract and a pinch of nutmeg or ginger. Blend once more to incorporate all the flavors.
-
Chill the mixture:
- Pour the blended mixture into an airtight container and let it chill for at least 2 hours, or overnight if you can wait!
-
Ready the Ninja Creami:
- Following your machine’s instructions, take the chilled mixture and load it into your Ninja Creami bowl, locking it into place.
-
Creamify the mixture:
- Process it through the Ninja Creami. This magical machine turns your liquid goodness into a creamy texture! If you want it extra fluffy, process it a second time.
-
Taste and tweak:
- After the first spin, taste it! If it needs more sweetness or spice, you can fold in a bit more of your sweetener or flavor boosters at this stage. It’s your dessert—make it yours!
-
Serve and enjoy:
- Scoop out portions into bowls, and if you’ve got it, drizzle a little extra maple syrup or sprinkle some cinnamon on top for that grand finish. Maybe add some crushed pecans or walnuts for crunch!
Serving Suggestions
Serving this delightful treat is almost as fun as making it! Use colorful bowls that showcase the creamy texture, and for an extra touch, garnish with a sprinkle of cinnamon or a dollop of Greek yogurt on top. You can even serve it alongside a warm apple slice for that cozy apple pie experience. Your guests will be impressed by both the flavor and the presentation—like a pro chef from a cooking show!
Recipe Variations
Now, let’s bring some creativity to the table! Here are a few variations to give your Protein Apple Pie Ninja Creami a twist:
-
Pumpkin Spice Twist: Swap out half the apples with pumpkin puree for a delicious fall-inspired flavor. Sprinkle in some pumpkin pie spice instead of cinnamon for that authentic taste.
-
Nutty Delight: Add 2 tablespoons of almond or peanut butter to the base before blending for a nutty profile and extra creaminess.
-
Chocolate Lover: Incorporate a scoop of chocolate protein powder instead of vanilla and add a handful of dark chocolate chips when serving! A new dessert is born—with a healthy spin!
-
Berry Fusion: Use mixed berries instead of apples for a fruity delight! Add a splash of lemon juice to keep the flavors fresh.
-
Dairy-Free Option: Substitute all dairy ingredients with plant-based alternatives like coconut yogurt and almond milk to make it completely dairy-free!
Chef’s Notes
Food is a lot like a dance, isn’t it? You have rhythm, steps to follow, but you can add your flair! This recipe started as a way for me to incorporate more protein into my diet, but it quickly became a go-to for sweet cravings without the sugar crash. Whenever I make it, I reminisce about my grandma and her apple pie, and I feel connected to those wonderful family gatherings. Plus, with this version, I don’t have to feel bad about going in for seconds!
FAQs and Troubleshooting
1. Why is my Ninja Creami mixture not blending well?
If you find it’s too thick, add a splash of milk to loosen it up, or make sure you’re using an adequate amount of liquid-based ingredients.
2. Can I use frozen fruit?
Absolutely! Just make sure to thaw it slightly before blending. You may need to adjust the sweetness, as frozen fruit can sometimes be sweeter than fresh.
3. What if I don’t have a Ninja Creami?
Don’t worry! You can use a regular blender to create this creamy concoction. Pour it into a dish and freeze until firm, stirring every 30 minutes until it reaches the desired consistency.
4. How long can I store the leftovers?
If you have any leftovers (which is rare!), store them in an airtight container in the freezer for about a week. Just remember to let them thaw for about 10 minutes before serving for the best texture.
Nutritional Info
While I don’t always measure the nutrition aspect, a typical serving of this Protein Apple Pie Ninja Creami might include approximately 250-300 calories, with around 20-25g of protein, depending on your ingredient choices.
Now that you have the full scoop, why not bring the warmth of the kitchen into your home? Gather your ingredients and get ready to enjoy this Protein Apple Pie Ninja Creami with family and friends. As with all things, the more you cook, the more confidence you’ll build—and remember to savor each bite! Happy cooking, everyone!
Related Post
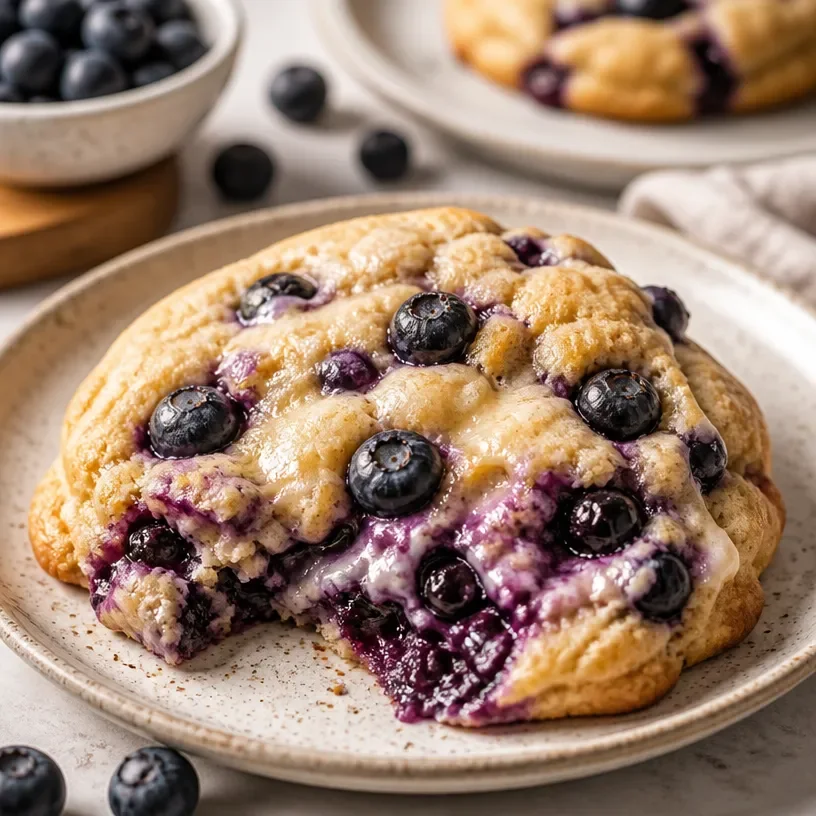
Protein Crumbl Blueberry Muffin Cookie
Indulge in Protein Crumbl Blueberry Muffin Cookies: A Guilt-Free Delight! Hey there, wonderful food enthusiasts!…