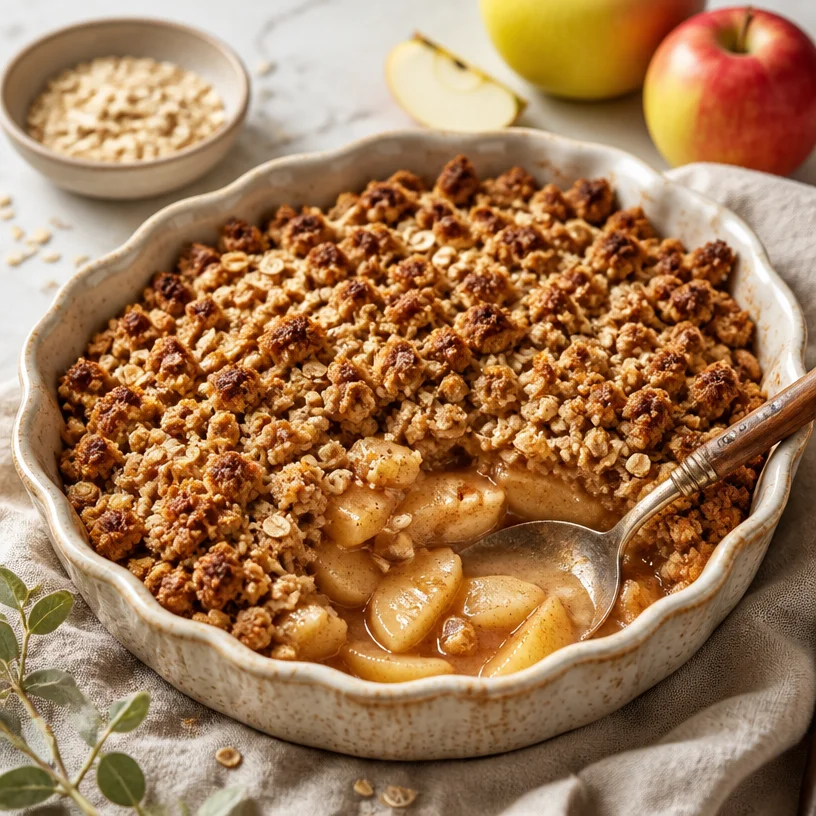
One-Pan Cast Iron Apple Crisp in 30 Minutes (Weeknight)
Bloom Savor >> Treats & Desserts>> One-Pan Cast Iron Apple Crisp in 30 Minutes (Weeknight)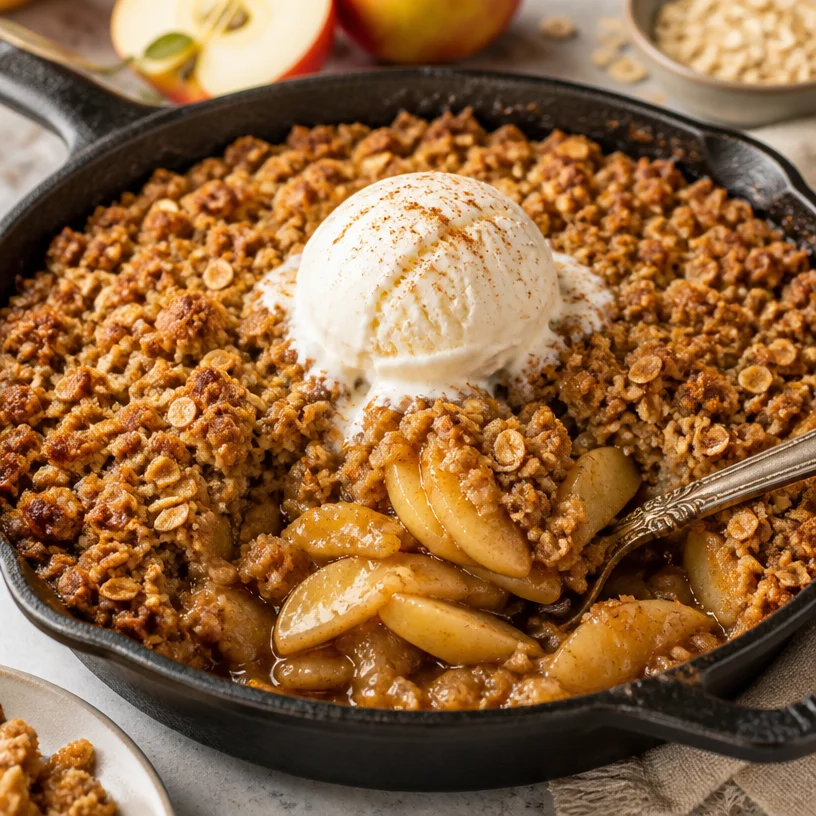
One-Pan Cast Iron Apple Crisp in 30 Minutes (Weeknight)
Discover the Joy of Cooking: Cast Iron Apple Crisp
Welcome to BloomSavor, where I’m all about embracing fresh flavors, seasonal ingredients, and heartwarming recipes that invite everyone into the kitchen. Today, I’m excited to share one of my all-time favorite desserts: Cast Iron Apple Crisp. This dish is more than just a recipe; it’s a celebration of autumn, a reminder of family ties, and an invitation to bring a little joy to your table.
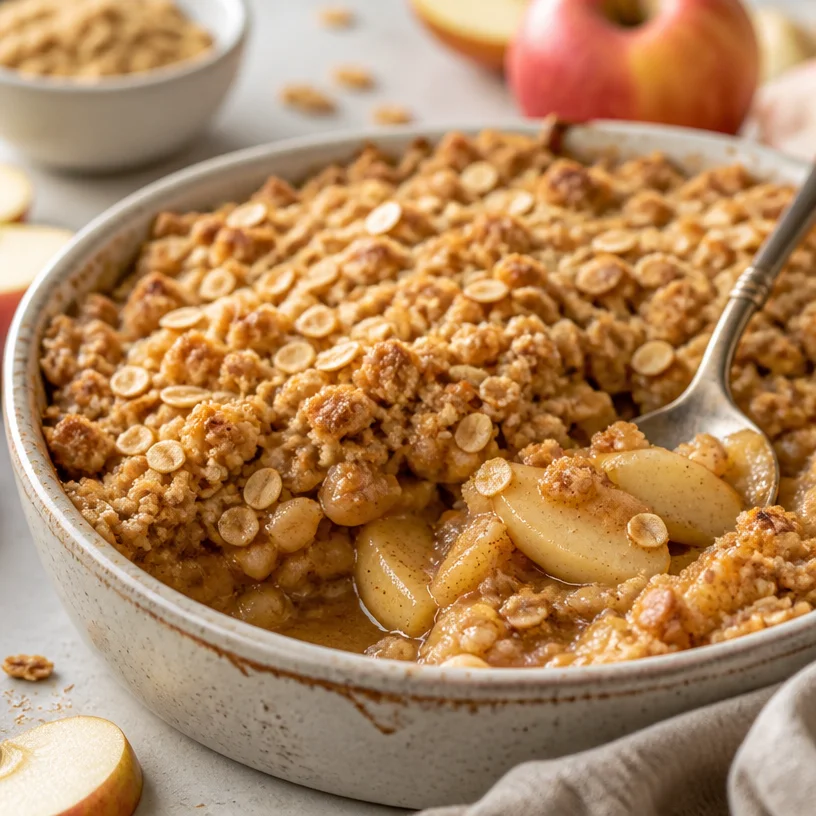
Picture this: the golden hues of leaves fluttering down, crisp air filling your lungs, and the sweet aroma of baked apples drifting through your home. Nothing quite says cozy like a warm apple crisp, served straight from the oven in a cast iron skillet. It’s simple, it’s indulgent, and it’s perfect for sharing with loved ones—just the way I believe food should be!
A Nostalgic Slice of Life
Let me take you back in time to my childhood kitchen, where the heart of our home beat to the rhythm of laughter, spices, and the clinks of cookware. My grandma used to whip up her famous apple crisp every autumn when the apples were ripe and bursting with sweetness. It was a ritual: every Saturday morning, I’d be perched on a stool, watching her work her magic.
The experience was more than just making a dessert. It was about the way she carefully peeled each apple, sharing stories of our family history. I can still hear her gentle voice saying, “Every good apple crisp needs love and a sprinkle of cinnamon.” I soaked in every detail as I helped her mix the crumbly topping, and oh, how we’d enjoy the fruits of our labor still warm with a scoop of vanilla ice cream melting atop!
Fast forward to today, and I’m thrilled to continue that legacy. I’ve added my own flair to grandma’s recipe, bringing you a Cast Iron Apple Crisp that’s sure to impress while evoking that comforting nostalgia. So let’s gather our ingredients and get cooking!
Ingredients
To make the most delicious Cast Iron Apple Crisp, you’ll need the following ingredients:
- 6 cups sliced apples: Choose a mix of tart and sweet varieties—Granny Smith and Honeycrisp work beautifully together. If you’re in a pinch, frozen apples can be used; just make sure to thaw them beforehand.
- 1 cup rolled oats: These provide that lovely chewy texture. If you’re gluten-free, feel free to swap for certified gluten-free oats!
- 1/2 cup brown sugar: This adds a caramel-like sweetness. For a healthier option, coconut sugar is a fantastic substitute!
- 1/2 cup all-purpose flour: This helps bind the topping. If you’re going gluten-free, almond or oat flour can help achieve a similar crisp.
- 1/2 cup butter, melted: Butter brings richness and flavor. You can use coconut oil or vegan butter for a non-dairy option.
- 1 tsp cinnamon: The warm spice that makes this dish aromatic and inviting. Don’t skip this!
- 1/4 tsp salt: A pinch of salt enhances all the flavors; it’s a crucial ingredient!
- Vanilla ice cream or whipped cream for serving: The perfect cool counterpoint to the warm, gooey crisp.
Step-by-Step Instructions
Now that we have our ingredients, let’s dive into making this magical dessert!
-
Preheat the Oven: Preheat your oven to 350°F (175°C). This initial heat sets the stage for that warm, bubbly goodness.
-
Prepare the Apples: Start by peeling, coring, and slicing your apples. Aim for slices about half an inch thick. If you’re short on time, a good-quality store-bought pie filling can work in a pinch, but trust me, nothing beats fresh, juicy apples!
-
Toss the Apples: In a large bowl, toss the apple slices with 1/4 cup of brown sugar and a teaspoon of cinnamon. This helps to draw out the moisture while infusing the apples with sweet, spicy goodness. Set this aside—let those apples mingle while we work on the topping!
-
Mix the Crisp Topping: In another bowl, combine the rolled oats, flour, remaining brown sugar, cinnamon, and salt. Stir in the melted butter until everything is evenly coated. This is where the magic happens—feel free to use your hands here; it’s all about getting that crumbly texture!
-
Assemble in Cast Iron Skillet: In a preheated cast iron skillet, spread the apple mixture evenly on the bottom. Then sprinkle the oat topping generously over the apples, making sure to cover every inch as best you can.
-
Bake with Love: Place the skillet in the oven and bake for approximately 35-40 minutes, or until the topping is golden brown and the apples are bubbly. The smell will make your kitchen feel like a cozy haven—we’re talking pure bliss!
-
Cool and Serve: Once golden, carefully pull the skillet from the oven and let the apple crisp cool for about 10-15 minutes. This brief pause allows everything to set up nicely, which means perfect scoops all around.
Serving Suggestions
Serve your warm Cast Iron Apple Crisp directly from the skillet for that rustic charm—it’s such a crowd-pleaser! For a little extra indulgence, add a generous scoop of vanilla ice cream or a dollop of whipped cream on top. A sprinkle of extra cinnamon or some chopped nuts can add a delightful finishing touch.
Recipe Variations
Feeling adventurous? Here are a few twists you can try to make this recipe your own:
- Nutty Apple Crisp: Add 1/2 cup of chopped pecans or walnuts to the topping for some extra crunch.
- Spiced Up: Don’t hesitate to bring in some cardamom or nutmeg along with the cinnamon for a unique flavor profile.
- Everything Seasoned: Add a sprinkle of lemon juice to the apples for a zesty kick.
- Berry Love: Mix in a cup of fresh or frozen berries for a delightful summer twist.
- Gluten-Free Delight: Use certified gluten-free flour and oats to make this dish 100% gluten-free while enjoying every bite!
Chef’s Notes
As I reflect on how this Cast Iron Apple Crisp has evolved, I can’t help but recall those times spent with my grandma in the kitchen. Each time I make this recipe, I think of the laughter and warmth we shared. This dish has become a family favorite, adapted over the years with seasonal tweaks and new flavors.
And let me tell you, it’s not just about the taste; it’s about the memories made around the table—friends coming over with their families, laughter echoing as dessert is served—it’s these moments that make cooking worthwhile.
FAQs and Troubleshooting
1. My topping is too wet; what did I do wrong?
This can happen if you add too much butter or if the apples were already too juicy. Next time, consider reducing the butter or tossing the apples with a bit of flour to absorb excess moisture.
2. Can I use different fruits?
Absolutely! Pears, peaches, or even berries can be delicious substitutes. Just keep in mind that cooking times may vary slightly with firmer fruits.
3. Why is my apple crisp soggy?
If you didn’t let the apples sit in sugar long enough, they may release too much moisture while baking. Allowing that sugar to draw out the liquid can help you achieve a firmer texture.
4. How do I store leftovers?
Keep your leftover apple crisp covered in the fridge for up to 3 days. Reheat in the oven to retain the crispy topping—nobody likes a soggy crisp!
Nutritional Info
While enjoying this delightful dessert, moderation is key. A serving of Cast Iron Apple Crisp contains approximately:
- Calories: 320
- Fat: 15g
- Carbohydrates: 45g
- Protein: 3g
- Fiber: 4g
Remember, this can vary based on portion size and specific ingredients used!
Whether you’re sharing this dish at a family gathering or sneaking a bite for yourself, this Cast Iron Apple Crisp is more than a recipe; it’s a journey into the heart of what cooking is all about. Let’s embrace this beautiful, delicious adventure together at BloomSavor. Grab your cast iron skillet and let’s make some memories! 🍏✨
Related Post